TextingHouse setup guide for HubSpot
Note: Before installing TextingHouse for HubSpot, you must have created a HubSpot account.

Go to Sign up for HubSpot to create your TextingHouse account.
Fill the required fields and click on “Create an account”.
Confirm your email address by clicking on the button of the received email.


Log into TextingHouse for HubSpot with your previously created credentials.
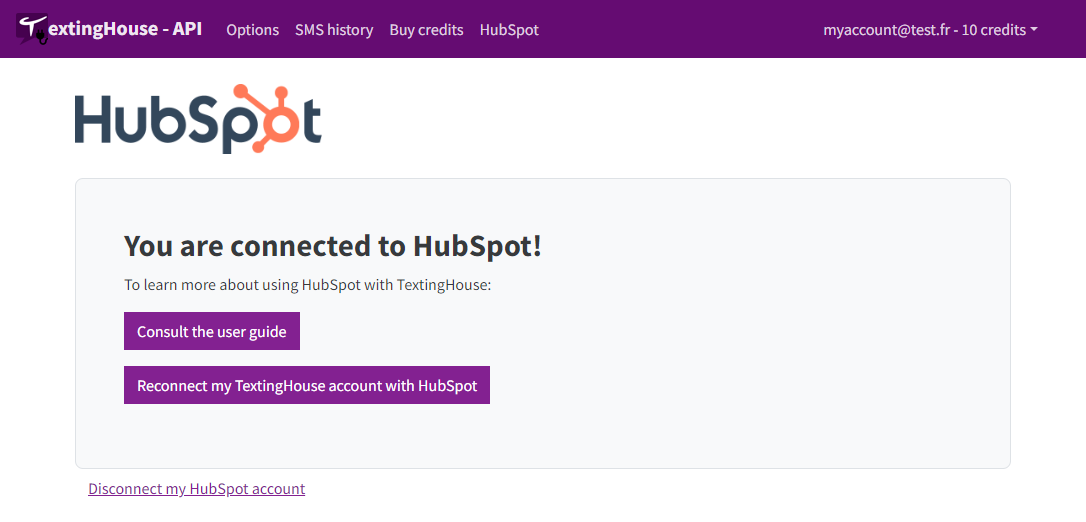
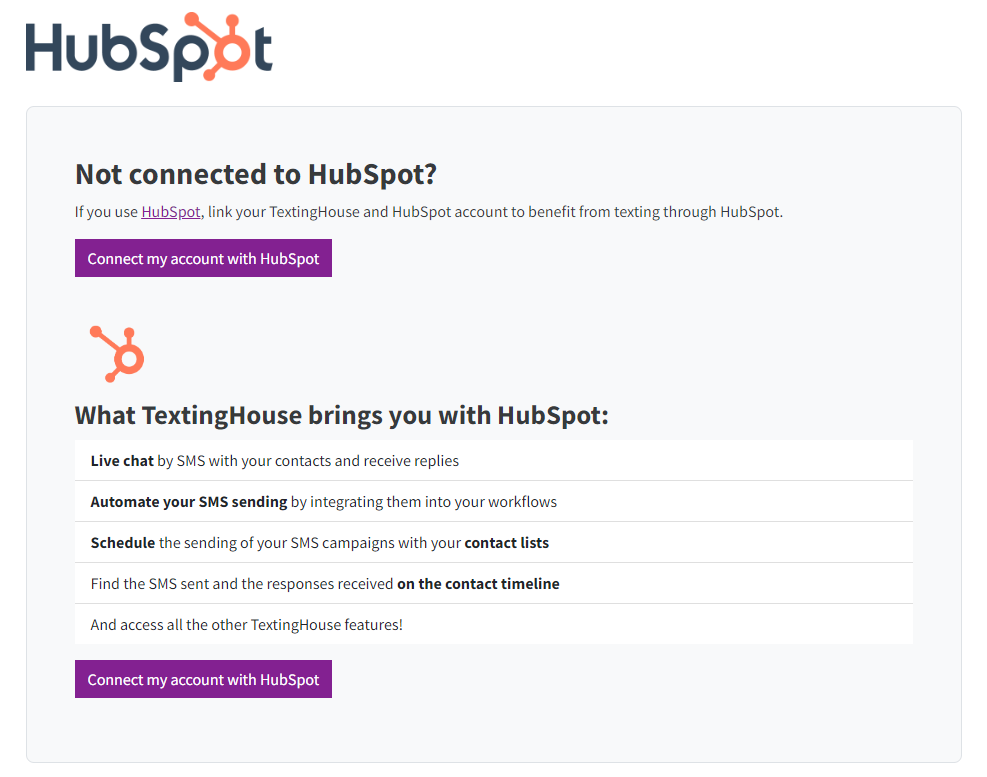
Once logged into TextingHouse, go to HubSpot page to link your TextingHouse account with HubSpot. To do this, click on the “Connect my account with HubSpot” button.

Now log into your HubSpot account and accept the necessary permissions for TextingHouse to work with HubSpot.
TextingHouse requires the following permissions:
- Manage and view your CRM data (deals, companies et contacts) et Tickets:
No information is kept by TextingHouse. This authorization is however necessary to allow you to send an SMS from a CRM card and to read the mobile phone number when sending the SMS. - Workflows:
Allows you to use the Send SMS action in your workflows. - Create timeline events:
To be able to register sent SMS on the timelines - Basic OAuth functionality:
To be able to identify your HubSpot account and link it to your TextingHouse account.
Perfect! Your TextingHouse account is now linked with your HubSpot account.
To buy SMS credits, go on Buy TextingHouse credits.
Learn more about texting with TextingHouse using HubSpot, consult the User Guide.